
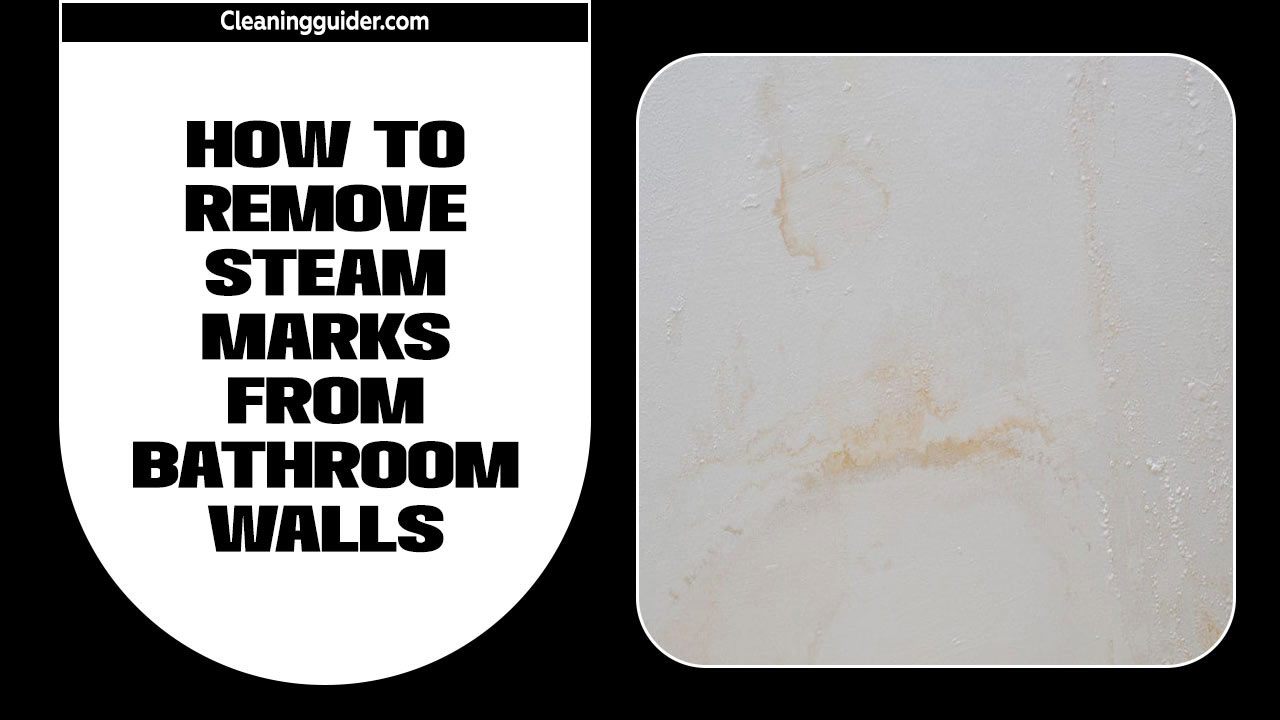
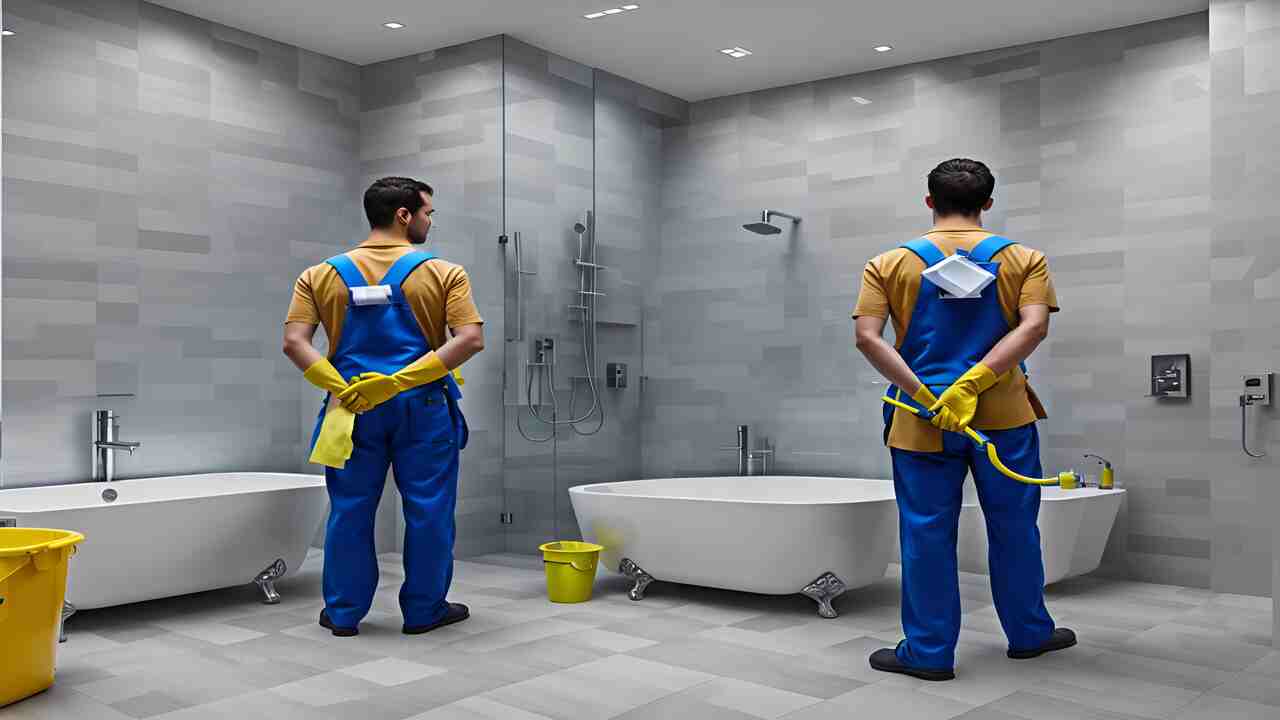
Bathroom walls are often exposed to constant moisture and steam, making them susceptible to unsightly marks and stains. These steam marks make your bathroom appear dirty and unkempt and can also be a breeding ground for mold and mildew.
Removing these stubborn marks may seem daunting, but it can be easily accomplished with the right tools and techniques. We will walk you through effectively removing steam marks from your bathroom walls. From identifying the cause of the marks to using household products and specialized cleaning solutions.
How to remove steam marks from bathroom walls will provide you with all the necessary information to achieve a clean and spotless bathroom. Say goodbye to unsightly steam marks and hello to a gleaming bathroom with our simple yet effective tips.
What Are Steam Marks?
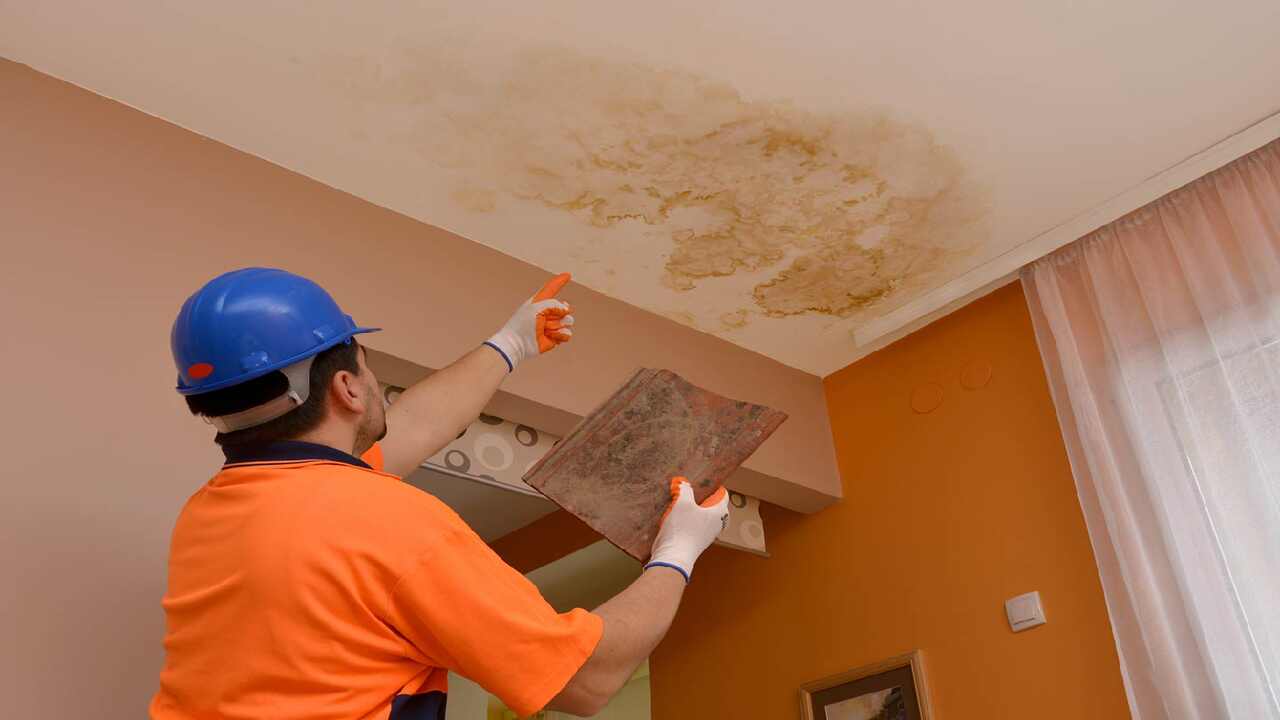
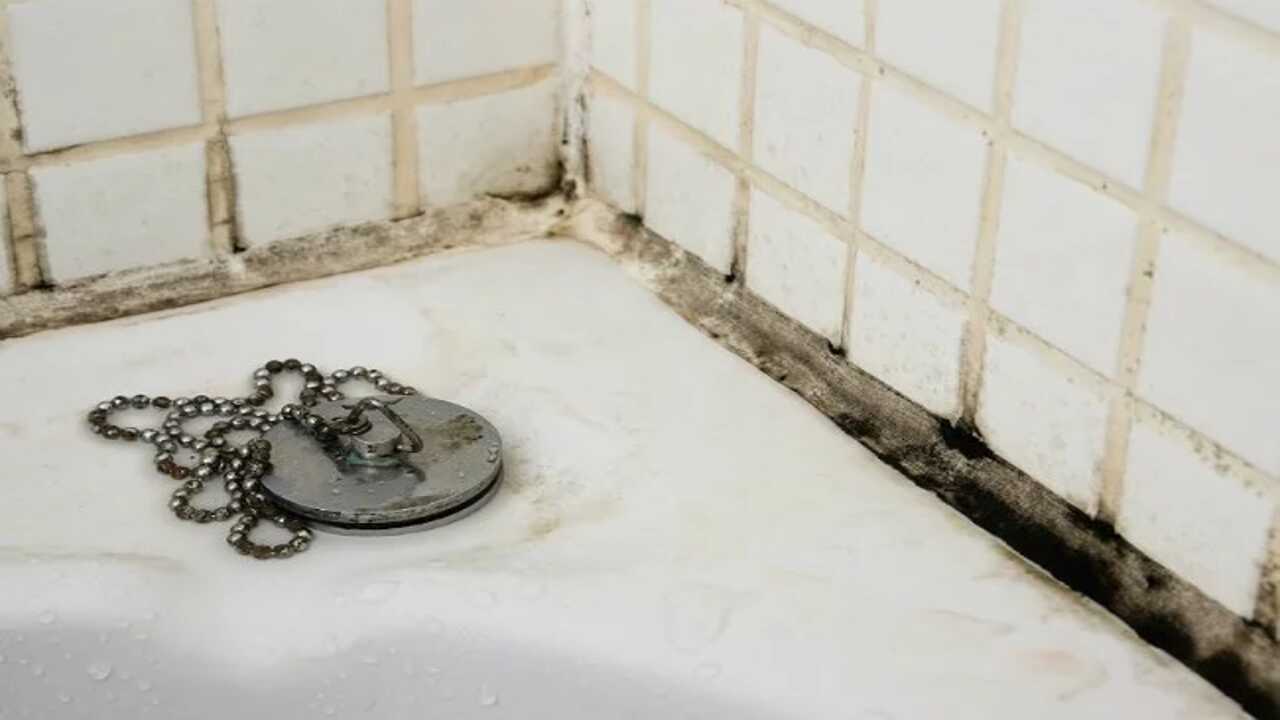
Steam marks are unsightly stains that can appear on bathroom walls due to hot showers or baths. These marks occur when the steam condenses on the walls and leaves behind water droplets. Over time, these droplets can cause discoloration and damage to the paint or wallpaper.
Steam marks are particularly common in bathrooms with poor ventilation or inadequate air circulation. If left untreated, they can become stubborn and difficult to remove. However, with the right techniques and cleaning products, you can effectively eliminate steam marks and restore the appearance of your bathroom walls.
Causes Of Steam Marks On Bathroom Walls
Steam marks on bathroom walls can be a frustrating issue for many homeowners. Several factors can contribute to the formation of these unsightly marks, including:
- High Humidity Levels: When hot, steamy showers are taken without proper ventilation, the moisture in the air can condense on the walls, leading to water droplets and, eventually, steam marks.
- Insufficient Insulation: In some cases, poorly insulated walls can allow warm, moist air from the bathroom to penetrate colder areas of the wall, causing condensation and the formation of steam marks.
- Lack Of Ventilation: Without proper airflow and ventilation in the bathroom, steam can become trapped and settle on the walls, resulting in visible marks.
By understanding the causes of steam marks on bathroom walls, homeowners can take steps to prevent their occurrence and maintain clean and dry bathroom surfaces.
Tools Required For Removing Steam Marks From Bathroom Walls
Removing steam marks from bathroom walls can be daunting, but it can be made much easier with the right tools. Using these tools, you can effectively eliminate steam marks and restore the pristine appearance of your bathroom walls. Here are some essential tools you’ll need to effectively remove steam marks from your bathroom walls:
- A spray bottle for evenly applying the cleaning solution.
- White vinegar is known for its natural cleaning properties.
- Soft cloths or sponges for gentle scrubbing without damaging the surfaces.
- Baking soda, which is effective in tackling stubborn stains.
- Clean water for rinsing and final clean-up.
How To Remove Steam Marks From Bathroom Walls? 5 Steps
To remove steam marks from bathroom walls, follow these 5 steps: Gather necessary supplies like a spray bottle, white vinegar, and a soft cloth. Prepare the wall by wiping away dust or debris. Create a cleaning solution using vinegar and warm water. Here are five steps to help you how to remove steam marks from bathroom walls and restore the walls to their original condition:
Step 1:Gathering Necessary Supplies
Gathering all the necessary supplies before removing steam marks from your bathroom walls is important. These supplies will make removing steam marks much easier and more effective. Here’s a list of items you’ll need:
- Clean, dry cloth or sponge
- Distilled white vinegar
- Water
- Spray bottle
- Baking soda (optional)
- Scrub brush or toothbrush (optional)
Step 2:Preparing The Wall For Cleaning
Before cleaning steam marks from your bathroom walls, preparing the surface properly is important. This will help ensure that the cleaning process is effective and doesn’t cause any damage to the wall. By properly preparing your bathroom walls before cleaning steam marks, you can ensure that you achieve optimal results without causing any harm to your walls. Here are some steps to prepare the wall for cleaning:
- Remove any loose dirt or debris from the wall. Use a dry cloth or brush to gently wipe away any dust or dirt that may have accumulated on the surface.
- Test a small, inconspicuous wall area with your chosen cleaning solution. This will help you determine if the solution is safe for use on your specific wall material and if it effectively removes steam marks without causing discoloration or damage.
- If the test area shows no damage, apply the cleaning solution to a clean sponge or cloth. Gently dab or rub the affected wall areas, working in small sections.
- Avoid using excessive force or scrubbing too vigorously, as this can potentially damage the paint or wallpaper on the wall.
- Once you have cleaned all the steam marks, rinse the sponge or cloth with clean water and go over the wall again to remove any remaining residue from the cleaning solution.
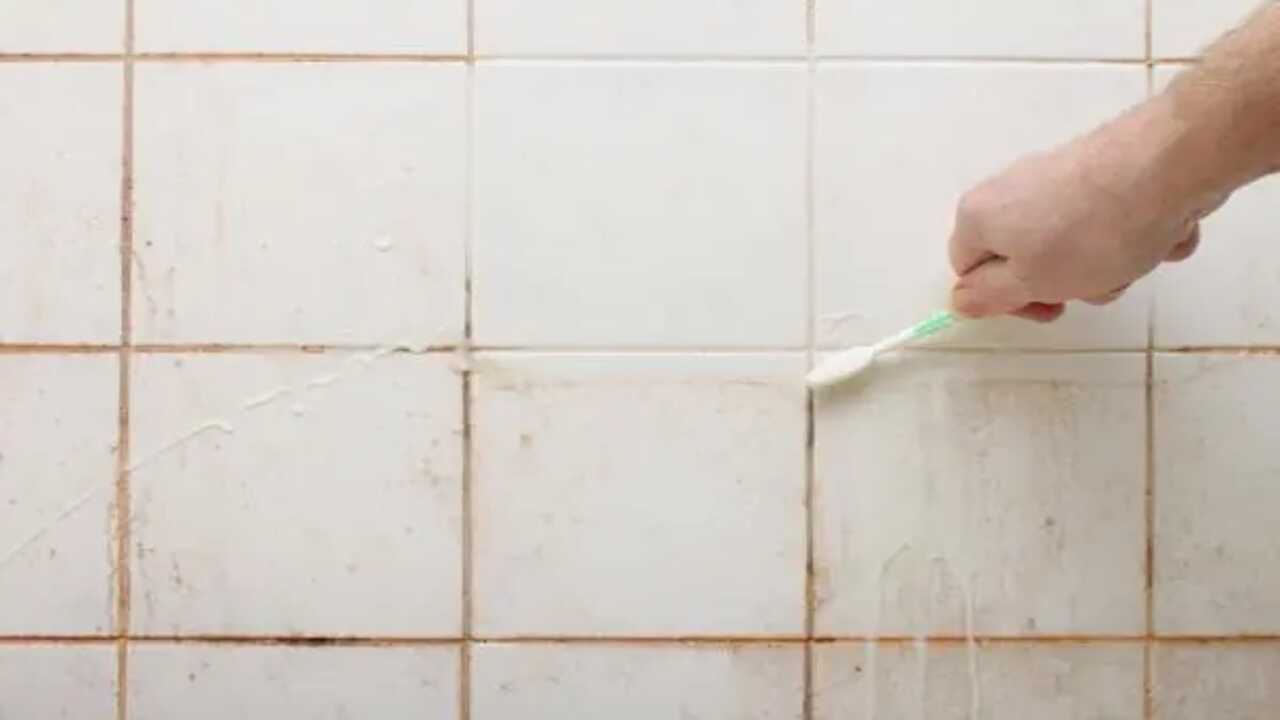
Step 3:Creating And Applying The Cleaning Solution
Creating and applying the right cleaning solution can effectively remove steam marks from bathroom walls. Mix equal parts white vinegar and water in a spray bottle to make a simple and effective cleaning solution. Shake well to ensure the ingredients are thoroughly combined. Once the solution is ready, spray it directly onto the steam marks on the bathroom walls.
Allow the solution to sit for a few minutes to loosen the stains. Then, gently scrub the affected areas in circular motions using a clean cloth or sponge. Rinse the cloth or sponge frequently and continue scrubbing until the steam marks are fully removed. Finally, wipe down the walls with a clean, damp cloth to remove any residue from the cleaning solution.
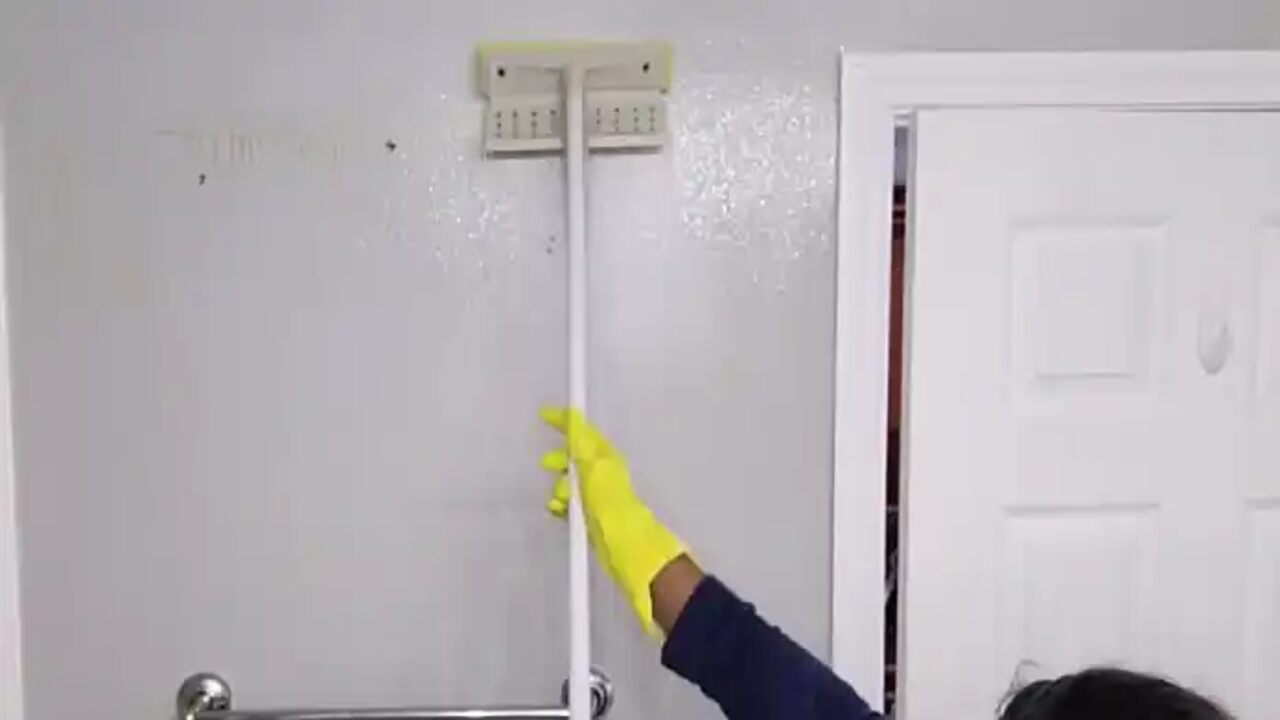
Step 4:Removing Steam Marks From Walls
To remove steam marks from bathroom walls, gently scrub the stains with a soft cloth or sponge in circular motions. Apply more cleaning solution if needed, especially for stubborn marks. For textured walls, use a soft-bristle brush to reach into crevices.
Repeat the process until the steam marks are completely removed. Remember to utilize the cleaning solution made from equal parts white vinegar and water, avoiding harsh chemicals or bleach that could damage the wall surface. You can consistently restore your bathroom walls to their pristine condition.
Step 5:Final Clean-Up

After removing the steam marks from your bathroom walls, a final clean-up is important to ensure a spotless finish. Start by rinsing the wall with clean water to remove any residue left behind by the cleaning solution. Use a damp sponge or cloth to thoroughly dry the wall, preventing the formation of water spots.
Look closely at the wall and check for any remaining steam marks. If you spot any, repeat the cleaning process as necessary. Properly dispose of any leftover cleaning solution according to local regulations, and store your cleaning supplies in a safe place for future use.
Health Risks Associated With Steam Mark Removal
Awareness of potential health risks is important when removing steam marks from bathroom walls. By being aware of these health risks and taking necessary precautions, you can effectively remove steam marks from bathroom walls while prioritizing your well-being. Here are some key points to consider:
- Mold And Mildew Growth: Steam marks are often caused by moisture, which can create the perfect environment for mold and mildew to thrive. These fungi can release spores that trigger respiratory issues, allergies, and other health problems.
- Cleaning Chemicals: Many cleaning products used for removing steam marks contain harsh chemicals that can be harmful if inhaled or come into contact with skin. It is recommended to wear gloves and ensure proper ventilation when using these products.
- Safety Precautions: When scrubbing steam marks, there is a risk of slips and falls due to wet surfaces. It is important to take necessary safety precautions, such as using non-slip mats, wearing appropriate footwear, and being cautious while working in wet areas.
- Prevention: To minimize the need for steam mark removal, it is important to maintain proper ventilation in the bathroom. Using exhaust fans or opening windows during showers can help reduce moisture buildup and prevent the formation of steam marks.
Conclusion
To summarize, steam marks on bathroom walls can be a nuisance and an eyesore. However, they can be effectively removed with the right tools and techniques. Gathering the necessary supplies and preparing the wall before cleaning is important. Creating and applying a suitable cleaning solution is key to removing the steam marks effectively.
Following the steps carefully, you can successfully remove the steam marks from your bathroom walls. However, it is worth noting that the cleaning process may involve exposure to cleaning chemicals, so taking necessary precautions, such as wearing gloves and ensuring proper ventilation, is advisable.
By following these steps, you can restore the cleanliness and beauty of your bathroom walls. We hope you now understand How to remove steam marks from bathroom walls.
Frequently Asked Questions
1.How Do You Get Rid Of Condensation Marks On Walls?
Ans: To remove condensation marks on walls, wipe them with water and vinegar. Apply paint or primer designed for humid environments. Install a ventilation system or use a dehumidifier to reduce moisture in the bathroom.
2.Why Am I Getting Water Marks On My Bathroom Walls?
Ans: Water marks on bathroom walls are a common issue caused by steam from showers or baths. Poor ventilation and lack of airflow contribute to the buildup of water droplets. Install an exhaust fan or open a window while showering to prevent water marks. Regular cleaning with a mild cleaner helps remove existing water marks.
3.Why Are My Bathroom Walls Streaking After Shower?
Ans: Streaks on bathroom walls after a shower are caused by steam condensation. Moisture settles on the walls and creates streaks as it evaporates. Prevent this using proper ventilation, such as an exhaust fan or window opening. Regular cleaning with a vinegar and water solution helps remove existing streaks.
4.How Do I Get Rid Of Steam In My Bathroom?
Ans: Proper ventilation is crucial for reducing steam in your bathroom. Consider installing a vent fan or opening a window during and after showering. Wiping down surfaces with a squeegee or towel can also help prevent steam marks on walls. Use vinegar and water or a specialized cleaning solution to remove existing steam marks.
5.What Can I Use To Make The Marks “Go Away” Or Less Noticeable?
Ans: To make steam marks less noticeable, try using vinegar and water. Gently scrub the affected area with a non-abrasive sponge or cloth dipped in the solution. Consider using a commercial cleaning product designed for steam marks or stubborn stains. Additionally, proper bathroom ventilation can help prevent steam marks from forming.