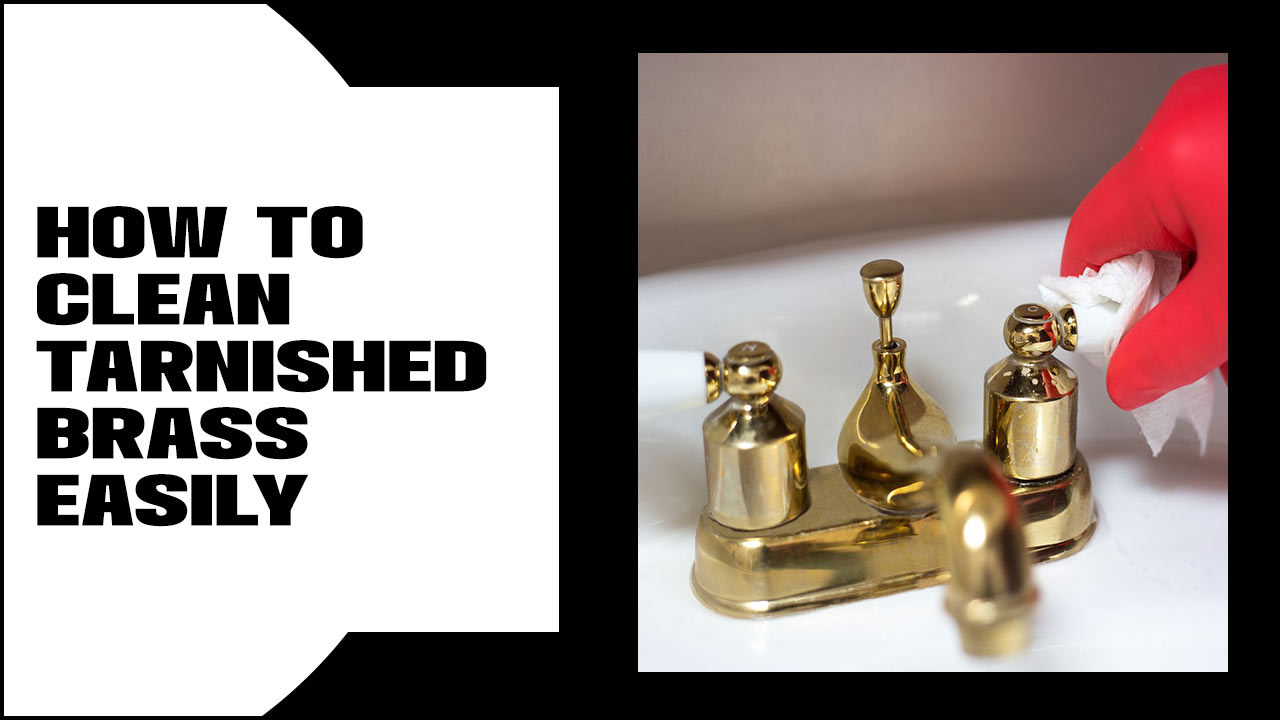
Brass is a popular material used for making decorative items and household fixtures. But, over time, brass can develop a dull, tarnished look that can be unsightly and affect the aesthetic appeal of your home decor.
Regular cleaning of tarnished brass is essential to keep it looking shiny and new. Here, we will cover everything you need to know about how to clean tarnished brass easily.
From identifying tarnish and gathering necessary supplies to step-by-step instructions on how to clean brass using common household items or commercial metal polish, we’ve got you covered. We’ll also share some precautions and safety measures you should follow when cleaning brass, as well as tips for handling severely tarnished brass and preventing future tarnish on your favorite brass items.
Understanding The Tarnish
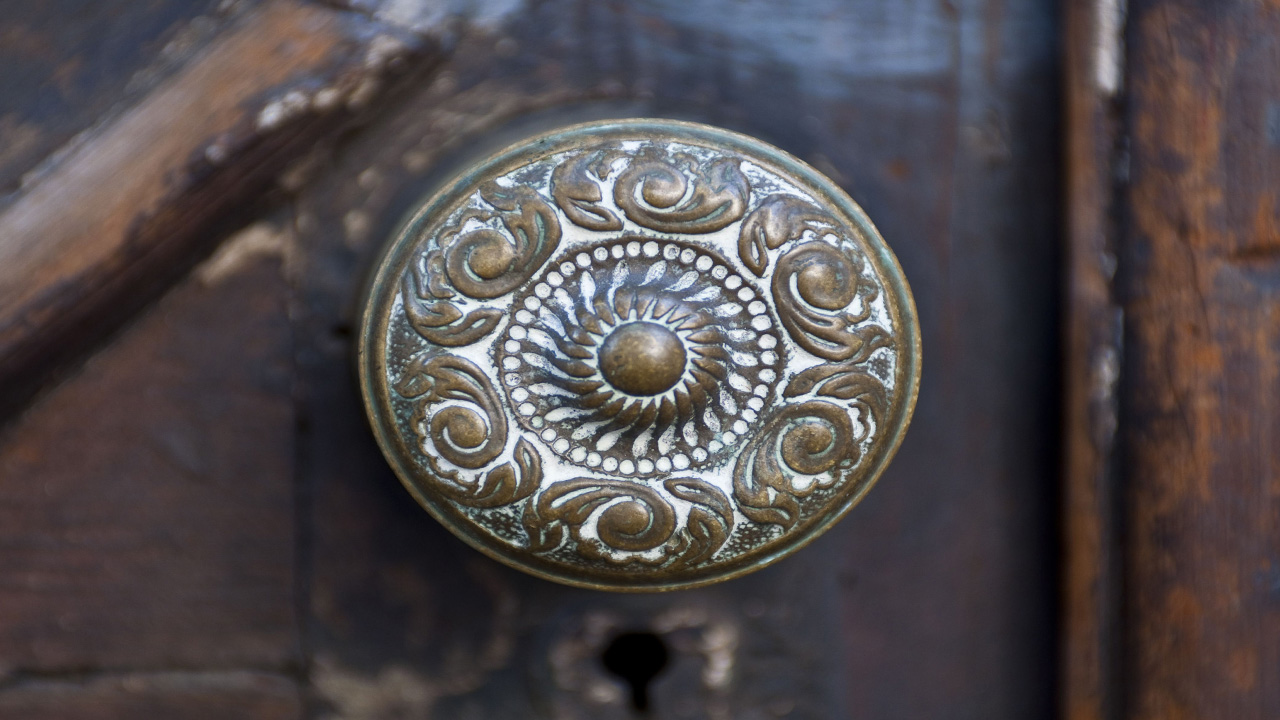
Tarnish is a natural process resulting from the reaction between brass, air, and moisture. It occurs due to oxidation and the formation of a patina layer on the surface of brass. To restore the original shine and luster of tarnished brass, it’s important to remove the tarnish.
The longer tarnish remains on brass, the more difficult it becomes to remove. Understanding the causes of tarnish is crucial in preventing its recurrence. With this knowledge, you can take steps to protect your brass items from tarnishing and ensure they maintain their beauty and elegance.
Gathering Necessary Supplies For Brass Cleaning
Cleaning tarnished brass can be a simple and effective way to restore the shine and beauty of your brass items. Before you begin, it’s important to gather all the necessary supplies to ensure a successful cleaning process. By gathering these supplies, you’ll have everything you need to clean your tarnished brass and restore its original luster effectively. Here is a list of supplies you will need:
- Mild dish soap
- Soft cloths
- Lemon juice or vinegar
- Baking soda
- Toothbrush or soft-bristled brush
- Brass polish
How To Clean Tarnished Brass Easily: A Step-By-Step Guide
Regular maintenance is crucial to keep your brass items looking their best. By cleaning brass regularly, you can maintain its luster and shine, preventing tarnish and corrosion. This not only extends the lifespan of your brass pieces but also protects the value of antique items. Cleaning tarnished brass can be a daunting task, but with the right steps, it can be done easily. Here is a step-by-step guide on how to clean tarnished brass easily:
Step 1: Wipe Away Loose Dirt And Grime
To begin the process of restoring your tarnished brass, start by gently wiping the surface with a soft cloth. This will help to remove any loose debris and dirt that may have accumulated. For those hard-to-reach areas or small crevices, use a toothbrush to remove any built-up dirt effectively.
Remember to wipe the brass in one direction to avoid spreading any dirt or grime. If you encounter tougher stains, you can dampen the cloth with warm, soapy water to help break them down. Finally, ensure that you dry the brass thoroughly to prevent any water spots or corrosion.
Step 2: Try Ketchup, Vinegar, And Salt
To tackle tarnished brass, there’s good news: you can give ketchup, vinegar, and salt a try. Apply a small amount of ketchup to a cloth and gently rub it onto the tarnished areas of the brass. Alternatively, create a cleaning paste by mixing equal parts vinegar and salt.
This paste can be rubbed onto the tarnished brass for effective cleaning. Allow the ketchup or paste to sit on the brass for a few minutes before rinsing it with warm water. Remember to dry the brass to avoid water spots thoroughly.
Step 3: Use Lemon Juice And Flour
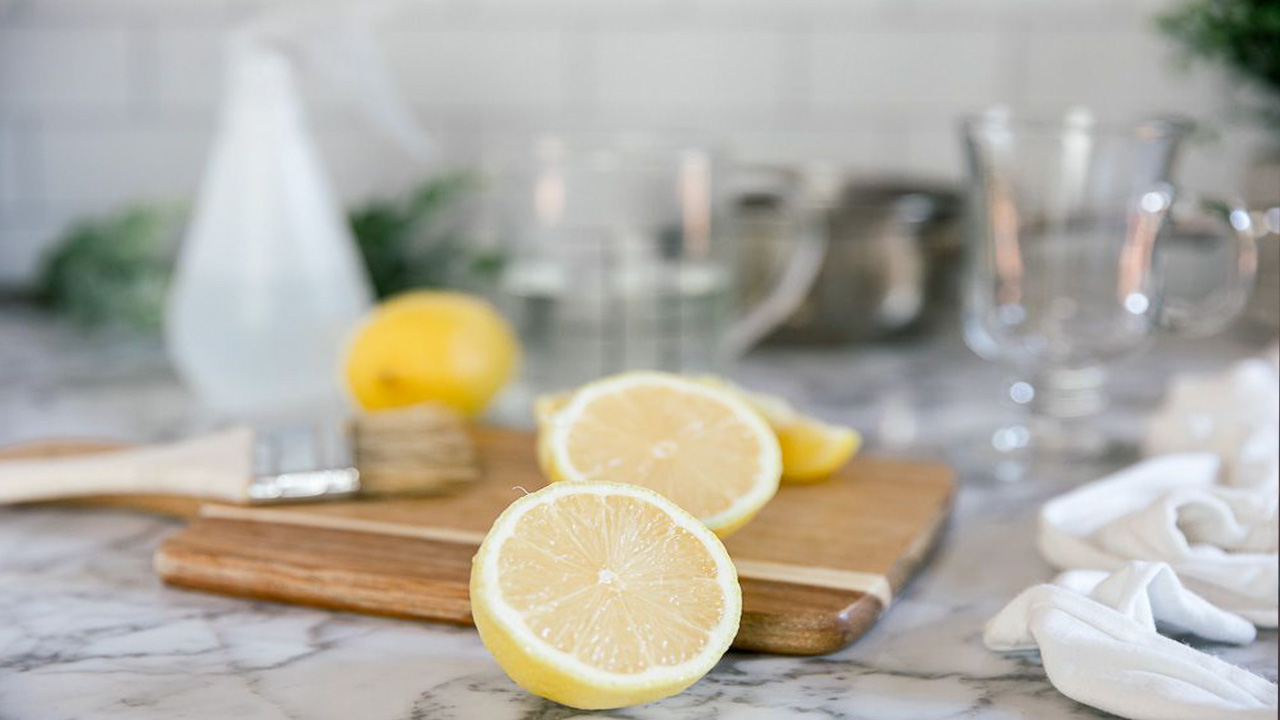
To clean tarnished brass easily, create a thick paste by combining lemon juice and flour. Apply the paste to the tarnished brass and let it sit for a few minutes. Then, use a soft cloth or toothbrush to gently rub the paste into the brass, ensuring that all areas are covered.
Rinse the brass with warm, soapy water, and make sure to dry it thoroughly. Finally, buff the brass with a clean, dry cloth to restore its luster and shine. This simple method using lemon juice and flour can effectively remove dirt, grime, and tarnish from brass surfaces.
Step 4: Apply Commercial Metal Polish
For the fourth step in cleaning tarnished brass, it’s time to bring out the commercial metal polish. To start, make sure you choose a polish that is specifically labeled as safe for brass and carefully follow the instructions provided on the packaging. Once you have your polish ready, take a soft cloth and apply a small amount of the polish to it.
Gently rub the cloth onto the tarnished areas of the brass using a circular motion to ensure even coverage. Allow the polish to sit on the brass for the recommended amount of time, as stated on the packaging. Finally, take a clean, dry cloth and use it to buff the brass, removing any residue from the polish and revealing a beautiful shine.
Step 5: Use Toothpaste
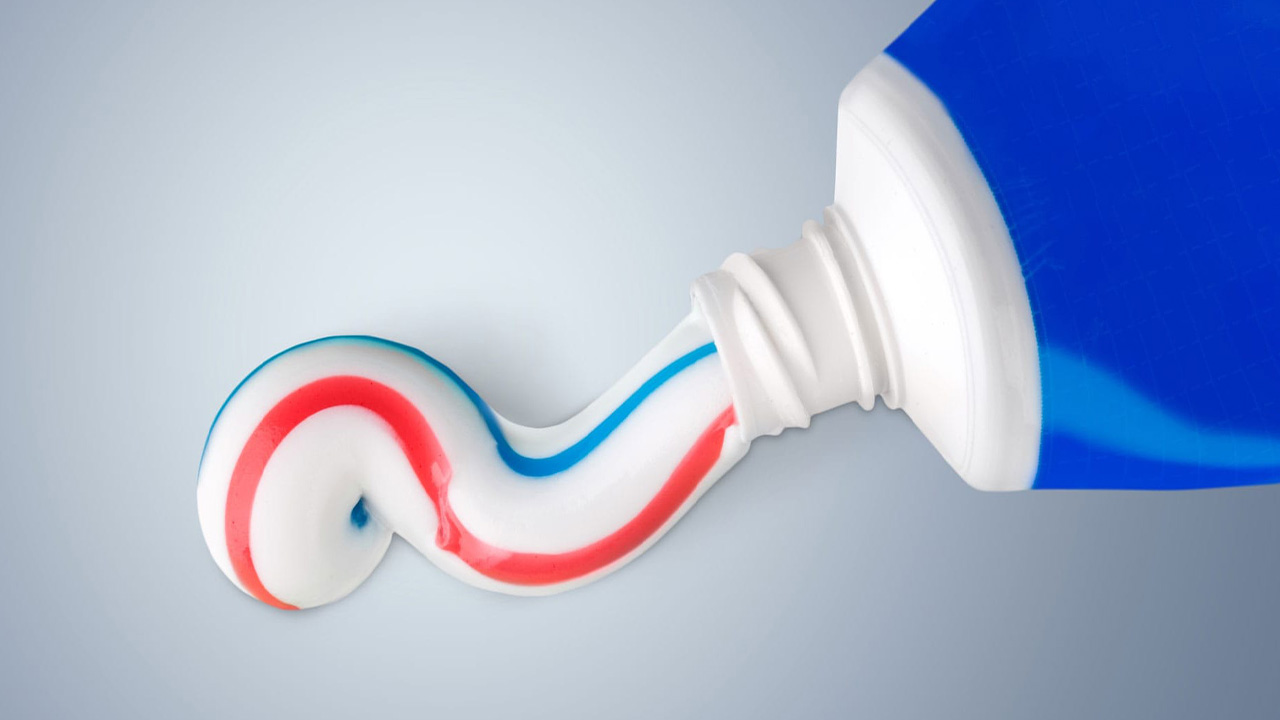
Toothpaste, surprisingly, can be an effective and affordable solution for cleaning tarnished brass. It is best to opt for a non-gel toothpaste that contains baking soda or other mild abrasives. Apply the toothpaste onto a soft cloth and gently rub it onto the tarnished areas of the brass.
Afterward, rinse the brass with warm water and dry it thoroughly with a clean, soft cloth. If the tarnish persists, you may need to repeat the process or consider trying another cleaning method. The good news is that toothpaste is commonly available and offers a straightforward and accessible solution for cleaning tarnished brass.
Step 6: Create A Baking Soda Or Cream Of Tartar Paste
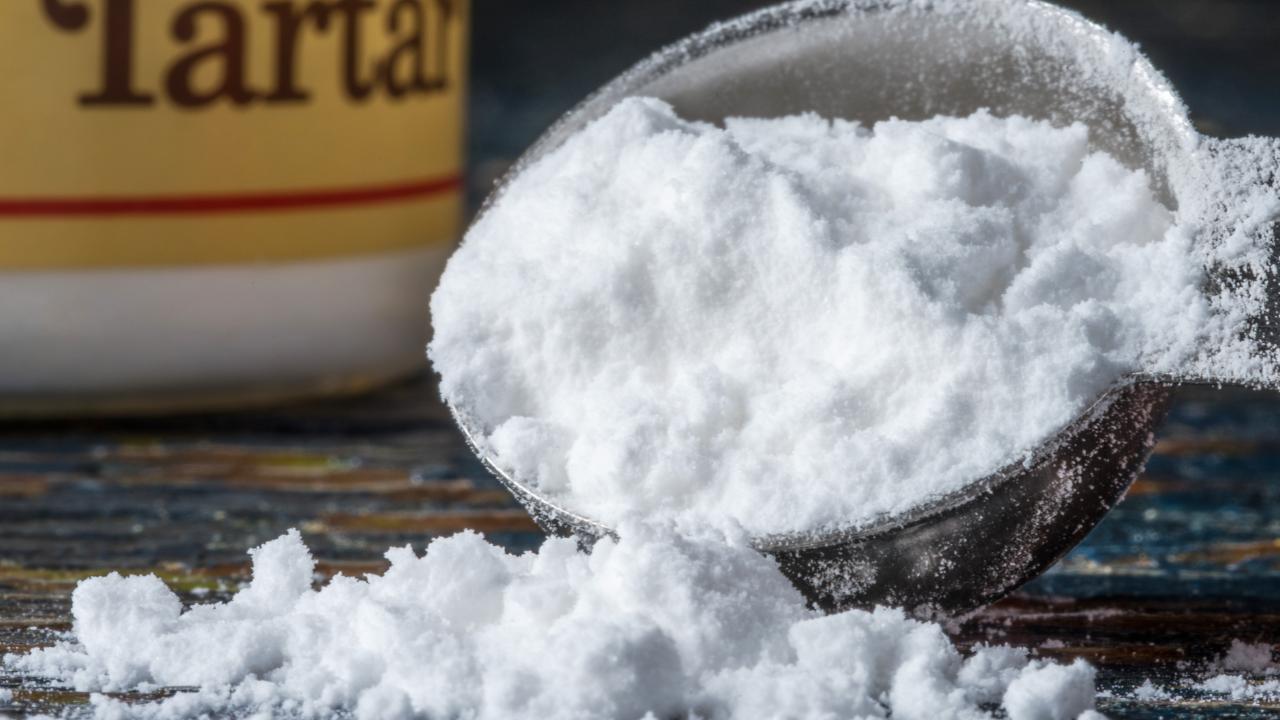
To clean tarnished brass easily, you can create a baking soda or cream of tartar paste. Mix 2 parts baking soda or cream of tartar with 1 part water to form a paste. Apply the paste to the tarnished brass, ensuring that all affected areas are covered.
Allow the paste to sit for at least 10 minutes. Then, use a soft-bristled brush or cloth to scrub the tarnished areas gently. Rinse the brass with warm water and thoroughly dry it with a clean cloth. Repeat the process if necessary until the brass is fully cleaned and restored.
Step 7: Soak The Brass
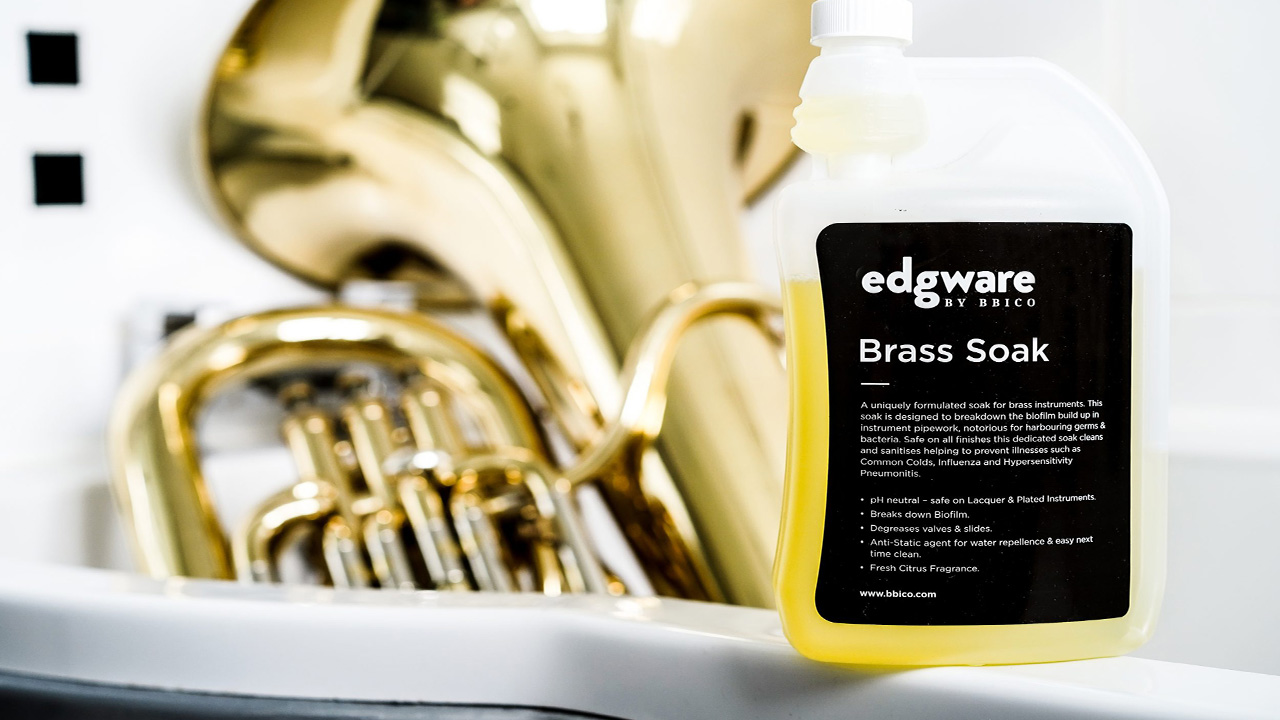
To effectively clean tarnished brass, begin by mixing a solution of equal parts water and white vinegar. Submerge the tarnished brass item in the solution, allowing it to soak for about 5-10 minutes. After soaking, use a soft-bristled brush or cloth to scrub away any remaining tarnish gently.
Rinse the item thoroughly with clean water and dry it with a soft cloth. For an extra shine, consider polishing the brass with a brass cleaner or a mixture of baking soda and lemon juice. Remember to handle the brass with care throughout the cleaning process.
Step 8: Use A Brass Cleaner
To effectively clean tarnished brass, it is important to choose a brass cleaner specifically designed for the type of brass you are working with. Using a soft cloth or sponge, apply the brass cleaner following the manufacturer’s instructions. Remember to gently rub the brass surface in a circular motion, avoiding any abrasive materials that could cause scratches.
Afterward, rinse the brass thoroughly with water and dry it with a clean cloth. For added protection against future tarnishing, consider applying a brass polish or protective coating. Following these steps will ensure the best results when cleaning your brass items.
Safety Precautions When Cleaning Tarnished Brass
When cleaning tarnished brass, it is important to take certain safety precautions to protect yourself and the brass. By taking these safety precautions, you can effectively clean tarnished brass while protecting yourself and preserving the integrity of the metal. Here are some tips to keep in mind:
- Wear Protective Gloves: Tarnish removers can be harsh on the skin, so it is important to wear gloves to protect your hands.
- Work In A Well-Ventilated Area: Some tarnish removers may produce fumes that can be harmful if inhaled. Make sure you are working in a well-ventilated area, or consider wearing a mask.
- Avoid Contact With Eyes And Mouth: Tarnish removers can irritate if they come into contact with your eyes or mouth. Be careful not to touch your face while cleaning, and wash your hands thoroughly after.
- Test On A Small Area First: Before applying any tarnish remover to the entire piece of brass, test it on a small, inconspicuous area first. This will help you determine if there are any adverse reactions or discoloration.
- Follow The Instructions: Different tarnish removers may have different application methods and contact times. Make sure to read and follow the instructions provided by the manufacturer carefully.
Common Mistakes To Avoid While Cleaning Brass
Regarding cleaning tarnished brass, there are a few common mistakes that you should avoid to ensure the best results. First and foremost, never use abrasive cleaners or scrubbing brushes on brass, as this can cause scratches and damage to the finish.
Instead, opt for gentle cleaning solutions like a mixture of mild soap and warm water or a specialized brass cleaner. Another mistake to avoid is leaving the brass wet after cleaning. Be sure to thoroughly dry the brass with a soft cloth to prevent water spots and further tarnishing.
Lastly, be cautious when using abrasive materials like steel wool or sandpaper to remove stubborn tarnish, as these can also scratch the surface of the brass. By avoiding these common mistakes, you can effectively clean tarnished brass and restore its natural shine without causing any damage.
Tips For Preventing Future Tarnish On Brass Items
Preventing future tarnishes on brass items can help to keep them looking shiny and new for longer. By following these tips, you can keep your brass items looking beautiful and tarnish-free for years to come. Here are some tips to help you prevent tarnish on your brass items:
- Keep Them Clean And Dry: Moisture can accelerate the tarnishing process, so make sure to dry your brass items thoroughly after cleaning or when they come into contact with water.
- Store Them Properly: Store your brass items in a dry, cool place away from direct sunlight. Avoid storing them in areas with high humidity, such as bathrooms or kitchens.
- Use A Protective Coating: Apply a thin coat of clear lacquer or wax to your brass items to create a protective barrier against tarnish. Be sure to follow the manufacturer’s instructions for application.
- Handle With Care: Avoid touching your brass items with bare hands, as the natural oils on your skin can cause tarnish. If you need to handle them, wear cotton gloves or use a soft cloth.
- Regular Maintenance: Regularly clean and polish your brass items using a gentle brass cleaner or a mixture of lemon juice and baking soda. This will help remove any dirt or residue that could contribute to tarnish.
Conclusion
To maintain the beauty and longevity of your brass items, regular cleaning is essential. Tarnish is a natural occurrence that can be easily removed with a few simple steps. Whether you choose to use household items like ketchup, vinegar, or lemon juice or opt for commercial metal polish, there are plenty of methods available to clean tarnished brass.
However, it is important to handle severely tarnished brass with caution and follow safety measures. Additionally, avoiding common mistakes like using abrasive cleaners or neglecting to dry the brass properly can help prevent damage. By implementing these cleaning techniques and taking preventive measures, you can ensure that your brass items remain shiny and beautiful for years to come. So, it is essential to know how to clean tarnished brass easily.
Frequently Asked Questions
1.What Makes Brass Tarnish Faster?
Ans: Brass tarnishes faster when exposed to air, moisture, and acidic substances like vinegar or lemon juice. Handling brass with bare hands can transfer oils and dirt, accelerating tarnishing. Regular cleaning and polishing can help prevent and slow down tarnish.
2.Does WD 40 Remove Tarnish From Brass?
Ans: Yes, WD 40 can effectively remove tarnish from brass. Spray it onto the tarnished brass, let it sit for a few minutes, and then wipe it off with a clean cloth. However, specialized brass cleaners may offer even better results. Always test any cleaning product on a small area first.
3.What Does Vinegar Do To Brass?
Ans: Vinegar, a natural cleaning agent, can remove tarnish from brass. When vinegar comes in contact with tarnish, its acid reacts and dissolves it, making the cleaning process easier. Remember to dilute vinegar with water before using it on brass to avoid any damage. After cleaning, rinse the brass thoroughly and dry it completely.
4.Is There A Way To Clean Old Brass Without Removing Patina?
Ans: Cleaning old brass without removing the patina is possible. One method is to make a paste of salt, vinegar, and flour, then gently rub it onto the brass using a soft cloth. Alternatively, you can use a commercial brass cleaner specifically designed for antique or patinaed brass. Remember to test any cleaning method on a small area first.
5.Do Different Brass Finishes Require Different Care?
Ans: Different brass finishes may require different care. It’s important to consider the type of finish when cleaning tarnished brass. For lacquered brass, avoid abrasive cleaners or steel wool. Unlacquered brass can develop a patina over time, which some prefer to leave alone. Consult manufacturer instructions or a professional for specific care guidance.

